Battery-powered speakers make outdoor sound simpler, cleaner, and more flexible. They are especially useful for ceremonies, speaking events, portable music setups, and fill speaker coverage where running power is inconvenient.
Why Choose a Battery-Powered PA System?
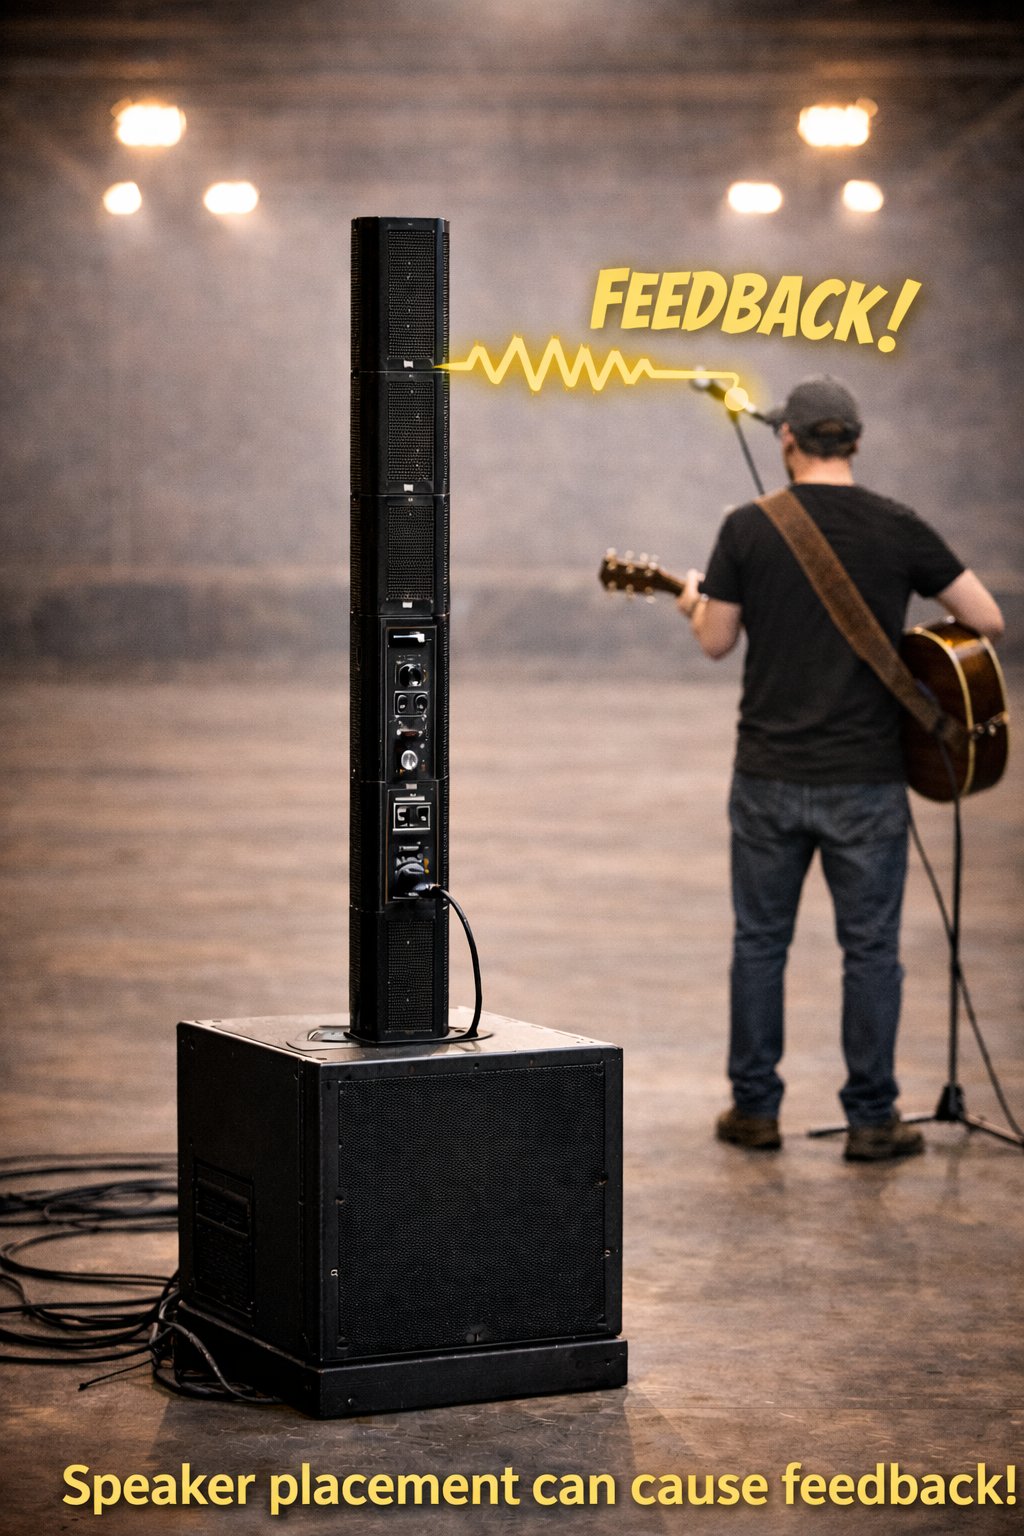
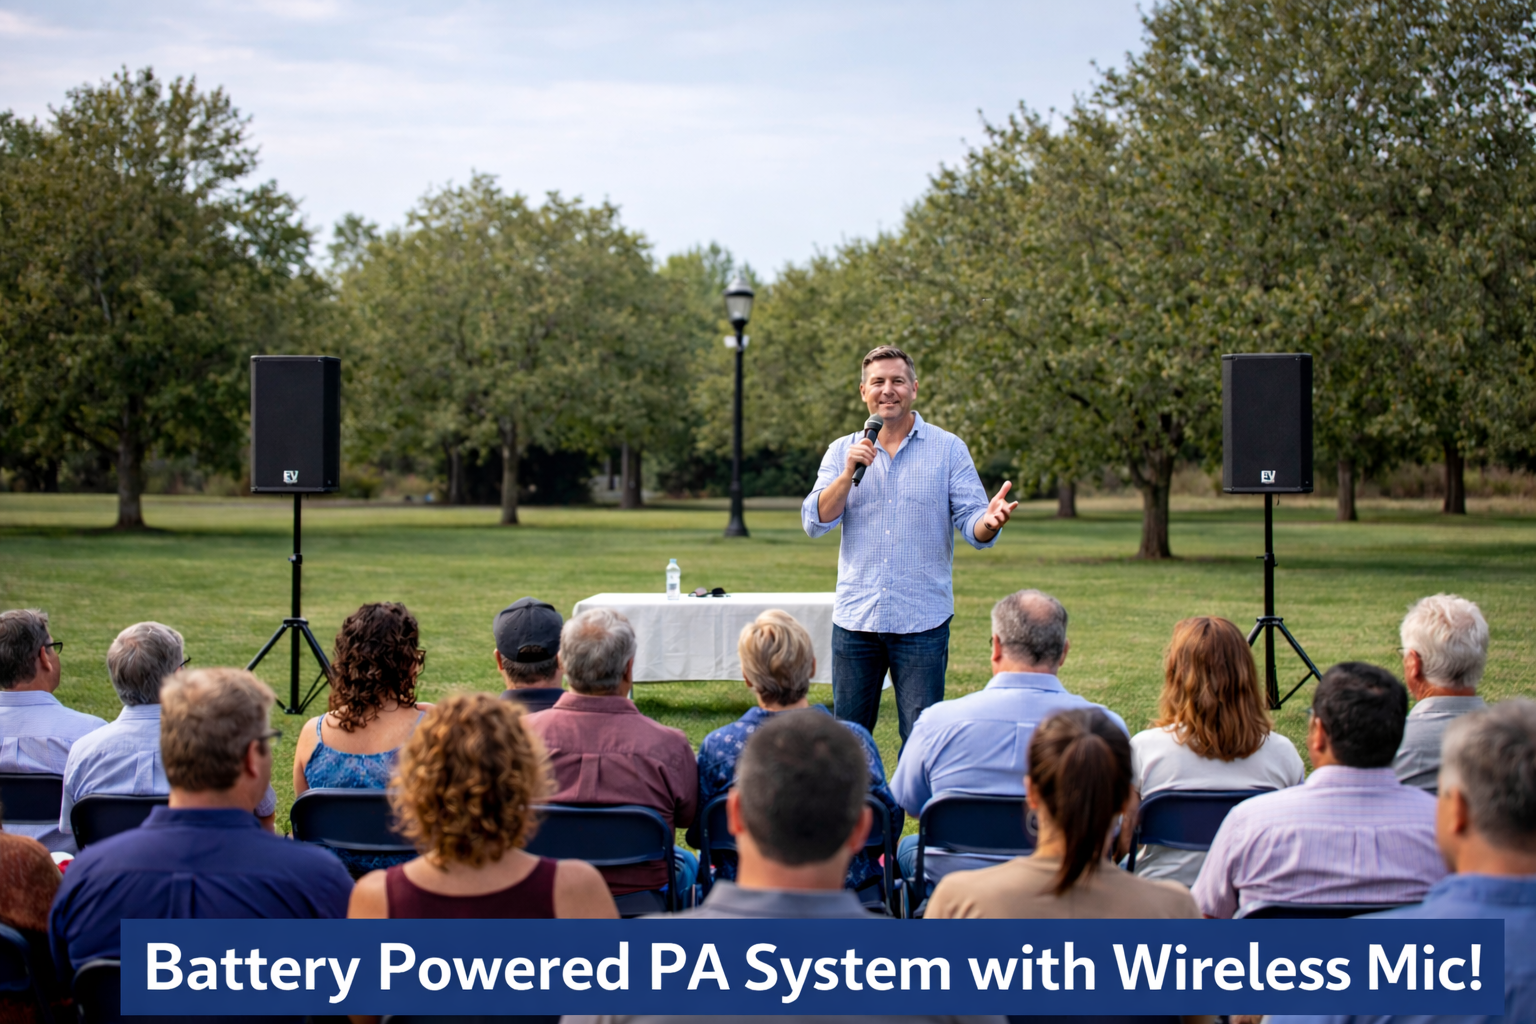
Outdoor events often happen in parks, parking lots, fairgrounds, school fields, rodeo spaces, and temporary venues where power is limited or inconvenient. A battery-powered setup makes it easier to place speakers where they sound best while keeping the area cleaner and safer.
- No need for nearby wall power
- Faster setup and teardown
- Cleaner look with fewer cables
- Great for ceremonies, announcements, and presentations
- Reliable sound for remote or temporary event spaces
Perfect for More Than Just Music
When people hear “PA system,” they sometimes think only of concerts or DJs. But battery-powered sound systems are also ideal for:
- Outdoor meetings
- Grand openings
- Community gatherings
- Fundraisers
- Sports events
- School activities
- Wedding ceremonies
- Markets and vendor events
- Public speaking with wireless microphones
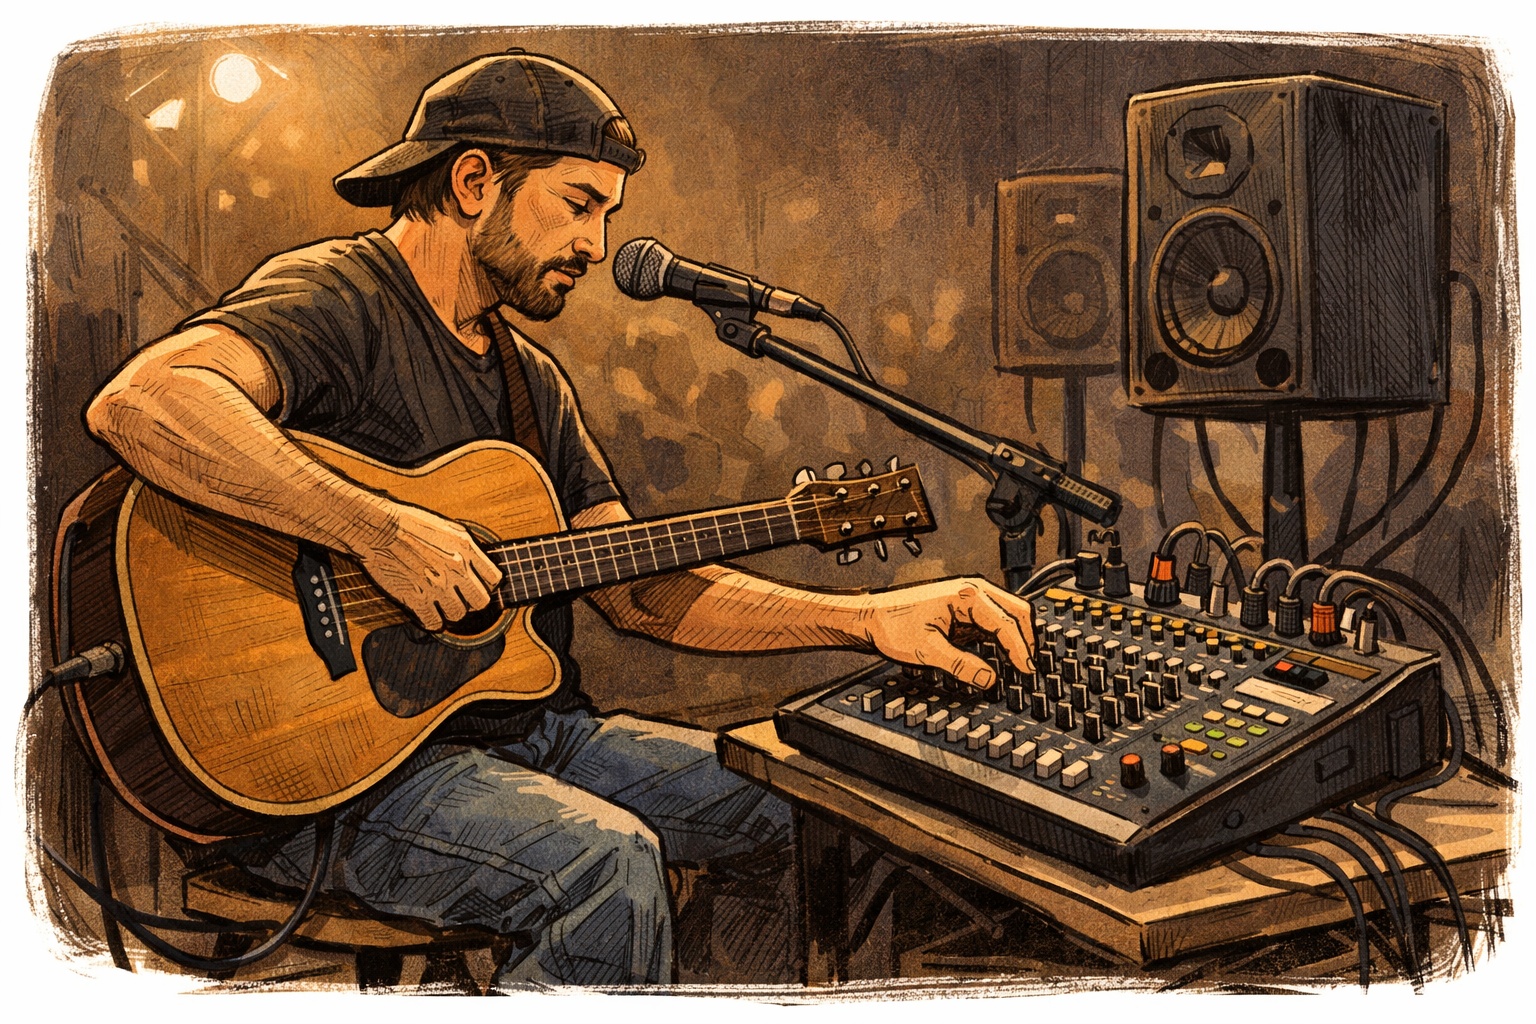
Wireless Microphones Make It Even Better
Adding a wireless microphone gives speakers freedom to move naturally without being stuck behind a podium or tangled in cords. Clear voice audio helps the event feel more professional and keeps guests engaged.
- Event hosts
- Wedding officiants
- Business presentations
- Fitness instructors
- Auctioneers
- Community leaders and announcers
Another major advantage is that EV EVERSE speakers can power wireless mic receivers directly. That helps reduce extra gear, extra batteries, and messy setup. Since the speaker is often elevated on a stand and not far from the microphone system, you also do not necessarily need an expensive wireless mic package for many speaking events.
Are EV EVERSE 12 Speakers Worth It?
Battery-powered speakers like the Electro-Voice EVERSE 12 are becoming more popular for outdoor events for good reason. They solve a lot of real setup problems, but they are not perfect for every situation.
Why the EV EVERSE 12 is a Great Choice
- True portability with no power needed
- Clean, professional-looking setup
- Can power wireless mic receivers directly
- Excellent for small to medium gatherings
- Very capable for speech and ceremony coverage
Where It Falls Short
- One speaker is not ideal for 100+ people
- Limited bass without a subwoofer
- Not ideal for 250+ people
- Not built for high-energy DJ events needing heavy bass
1. True Portability
You can set up almost anywhere. No outlets. No generators. No extension cords. This is a big advantage for parks, weddings, ranch properties, pop-up events, and vendor booths.
2. Clean, Professional Setup
Because everything is battery-powered, your setup looks cleaner with fewer cables, fewer trip hazards, and faster load-in.
3. Built-In Power for Wireless Mic Systems
One of the most useful EV EVERSE features is the ability to power wireless mic receivers directly from the speaker. That simplifies the setup and reduces the need for additional power accessories.
4. Great for Small to Medium Gatherings
This is where the speakers really shine. They are ideal for speech, ceremonies, announcements, and light music without being overkill.
5. Output Depends on Setup
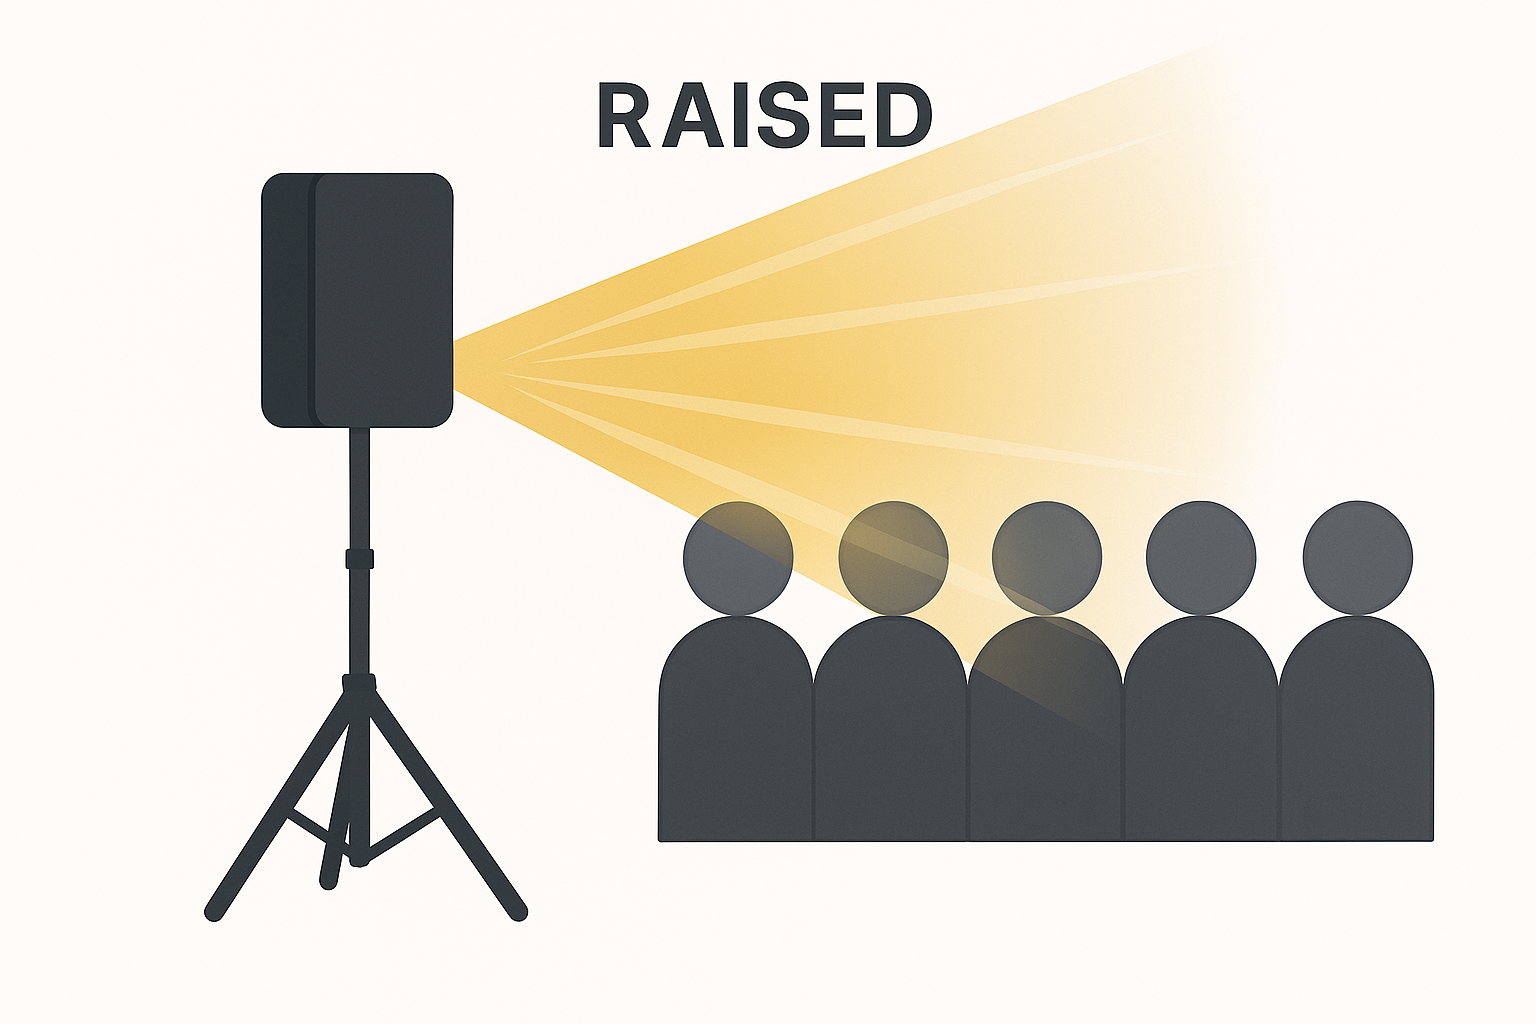
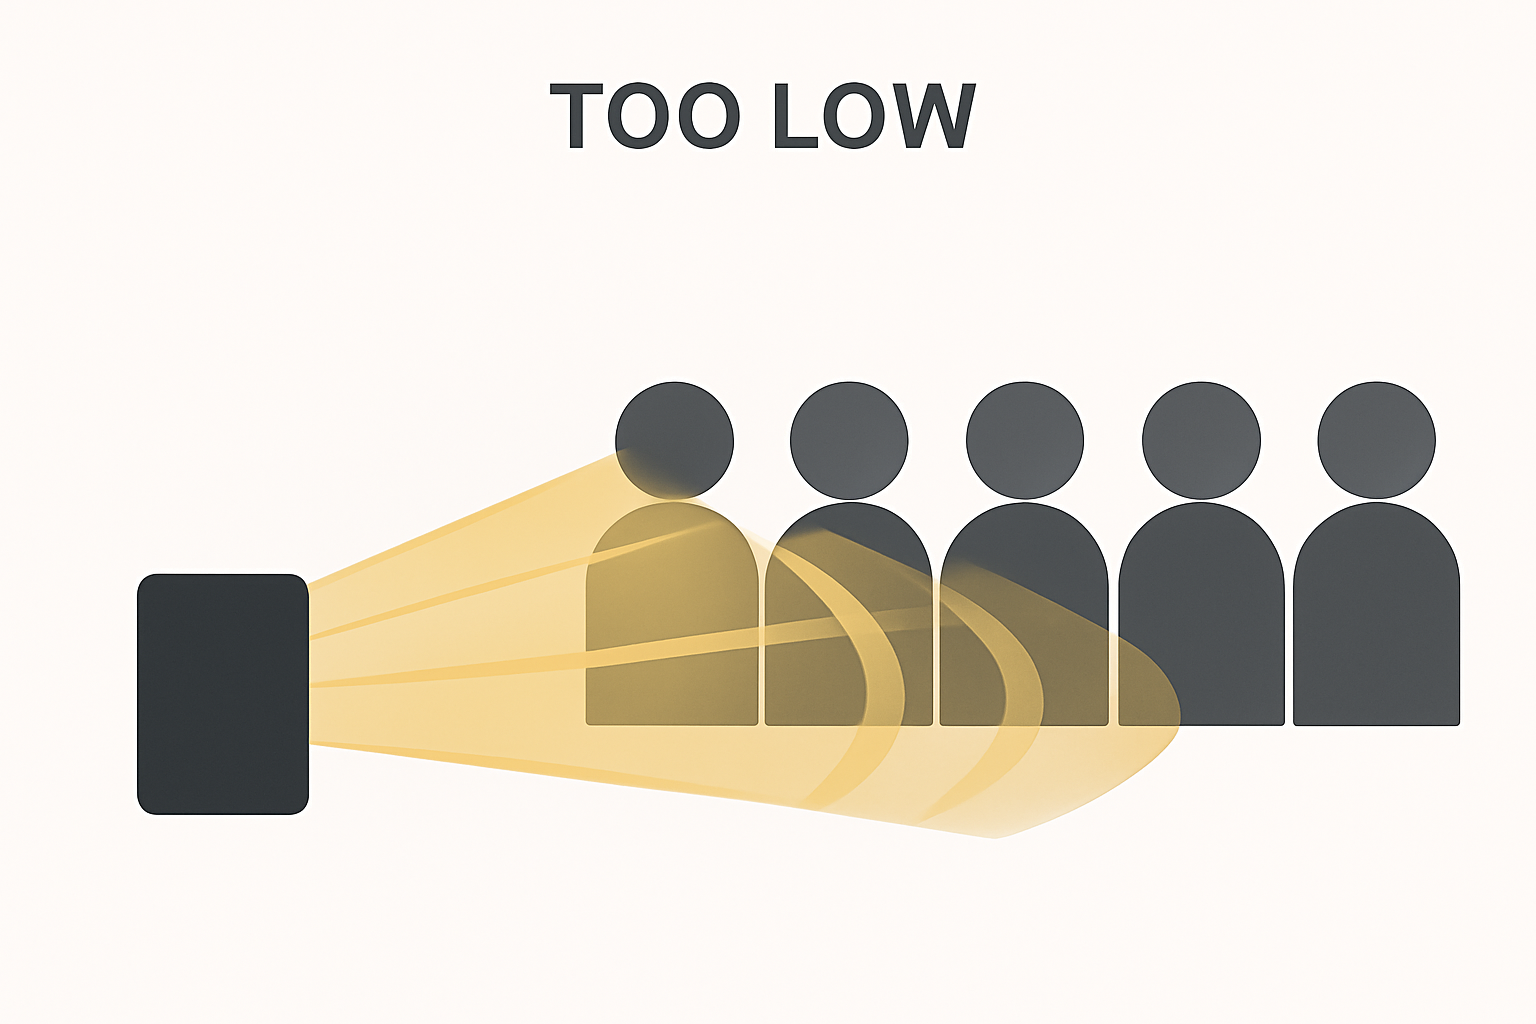
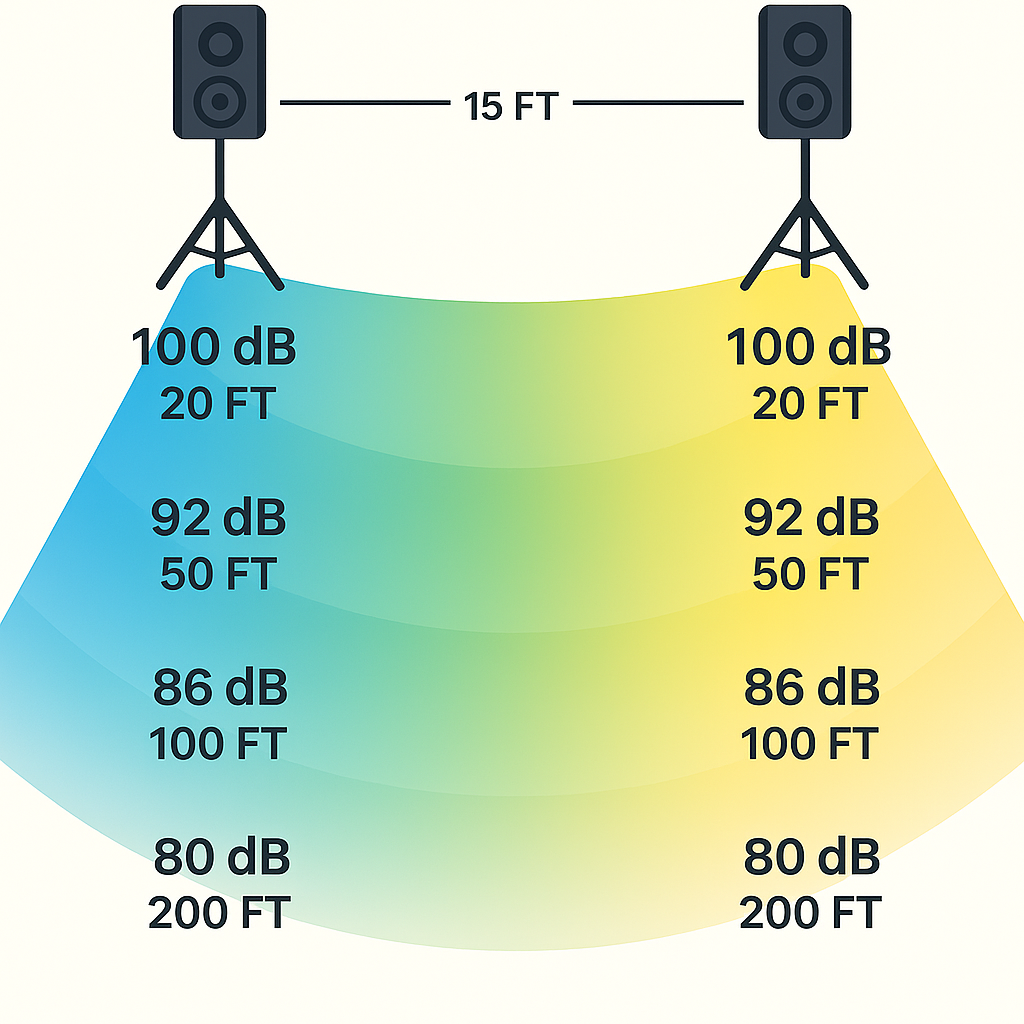
One EVERSE 12 is not ideal for 100+ people. With a single speaker, coverage is better suited to smaller groups. But with two EVERSE 12 speakers on stands, coverage improves a lot and becomes a very solid setup for medium-sized crowds.
Each speaker is rated around 126 dB SPL, and when spaced properly on stands, they can provide wide, even coverage and strong vocal clarity across larger audiences.
6. Limited Bass Without a Subwoofer
They sound great for voice and light music, but they are not built for strong, heavy bass on their own. For DJ-style events or dance floors, you will want a dedicated subwoofer or a larger powered system.
7. Not Ideal for Very Large or High-Energy Events
For larger-scale setups, it is important to match the system to the demand. Two EVERSE 12 speakers can cover sizeable audiences for speech and ceremonies, but they are not the right choice for 250+ people in loud conditions or for high-energy DJ events wanting heavy bass.
Another Great Use: Fill / Delay Speakers
Battery-powered speakers like the EV EVERSE series are not just for standalone setups. They also work incredibly well as fill speakers or delay speakers.
Why Fill Speakers Matter
Instead of blasting the main system really loud to reach the back of a crowd, you can place additional speakers farther back and run them at a lower volume. This helps even out coverage and creates a more comfortable listening experience.
That means people farther away often hear more low-end energy than detail and speech intelligibility. By using fill or delay speakers, you can restore clarity in the back, avoid overpowering the front row, and achieve more balanced sound overall.
Why Battery Speakers Work So Well for This
- No need to run long power cables
- Fast setup in large or spread-out spaces
- Flexible placement wherever coverage is needed
- Useful for outdoor weddings, large ceremonies, festivals, and wide audience areas
EV EVERSE 8 vs EV EVERSE 12
If you like the idea of the EVERSE 12 but want something smaller, the EV EVERSE 8 is another strong option.
EV EVERSE 8
- More compact and portable
- Good for very small gatherings
- Nice choice for vendor booths and solo presenters
- Less output and less low-end than the EVERSE 12
EV EVERSE 12
- Better all-around versatility
- More output and more coverage
- Stronger option for ceremonies and speaking events
- Better fit when you want one battery speaker to do more
Think of the EVERSE 8 as more of a grab-and-go speaker, while the EVERSE 12 is the more flexible all-around performer.
What Makes EV EVERSE Different from Other Battery PA Systems?
There are other battery-powered PA systems out there, but the EV EVERSE line stands out for a few reasons.
- Built-in power outputs for wireless mic receivers and small accessories
- Swappable batteries so you can extend runtime without waiting to recharge
- Weather-resistant design for real outdoor use
- Professional-grade sound in a portable format
Many lower-cost battery speakers do not offer the same flexibility. The ability to swap batteries and power accessories directly from the speaker can make a big difference in real-world event work.
Sweetwater Product Link
View the EV EVERSE 12 on Sweetwater
You can use that link in your live blog post, product reference section, or call-to-action block.
The Bottom Line
The EV EVERSE 12 is not about maximum power. It is about flexibility, convenience, and clean deployment. It is a strong option for outdoor speaking events, ceremonies, portable setups, and fill speaker coverage. It is less ideal for very large crowds, high-volume DJ events, or bass-heavy dance setups without a subwoofer.
Best Use Cases
- Outdoor speaking events
- Wedding ceremonies
- Small to medium gatherings
- Portable quick setups
- Clean cable-free environments
- Fill or delay speaker coverage
Less Ideal For
- Very large crowds
- High-energy DJ events
- Heavy bass without a subwoofer
- Situations needing maximum output from one speaker