Blog
-
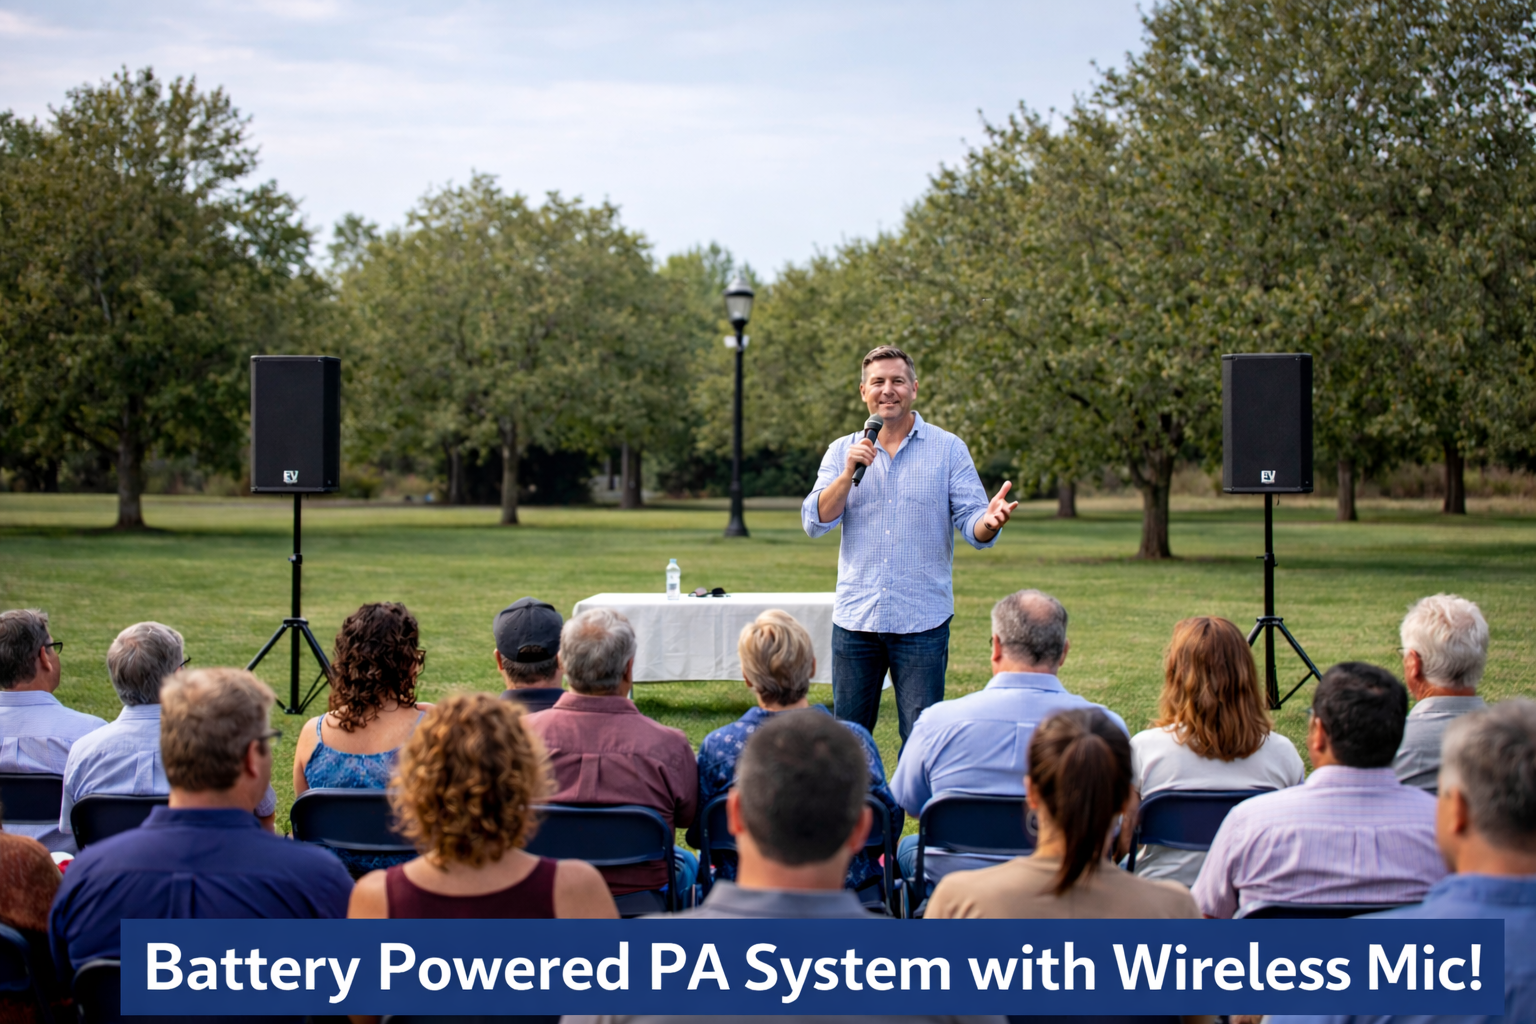
Looking for sound without power? See why EV EVERSE battery speakers are great for outdoor events—and where they fall short.
-
If your microphone sounds thin, weak, or hollow, it’s probably not broken. In most cases, the issue comes down to distance, placement, and technique—not the mic itself.

-
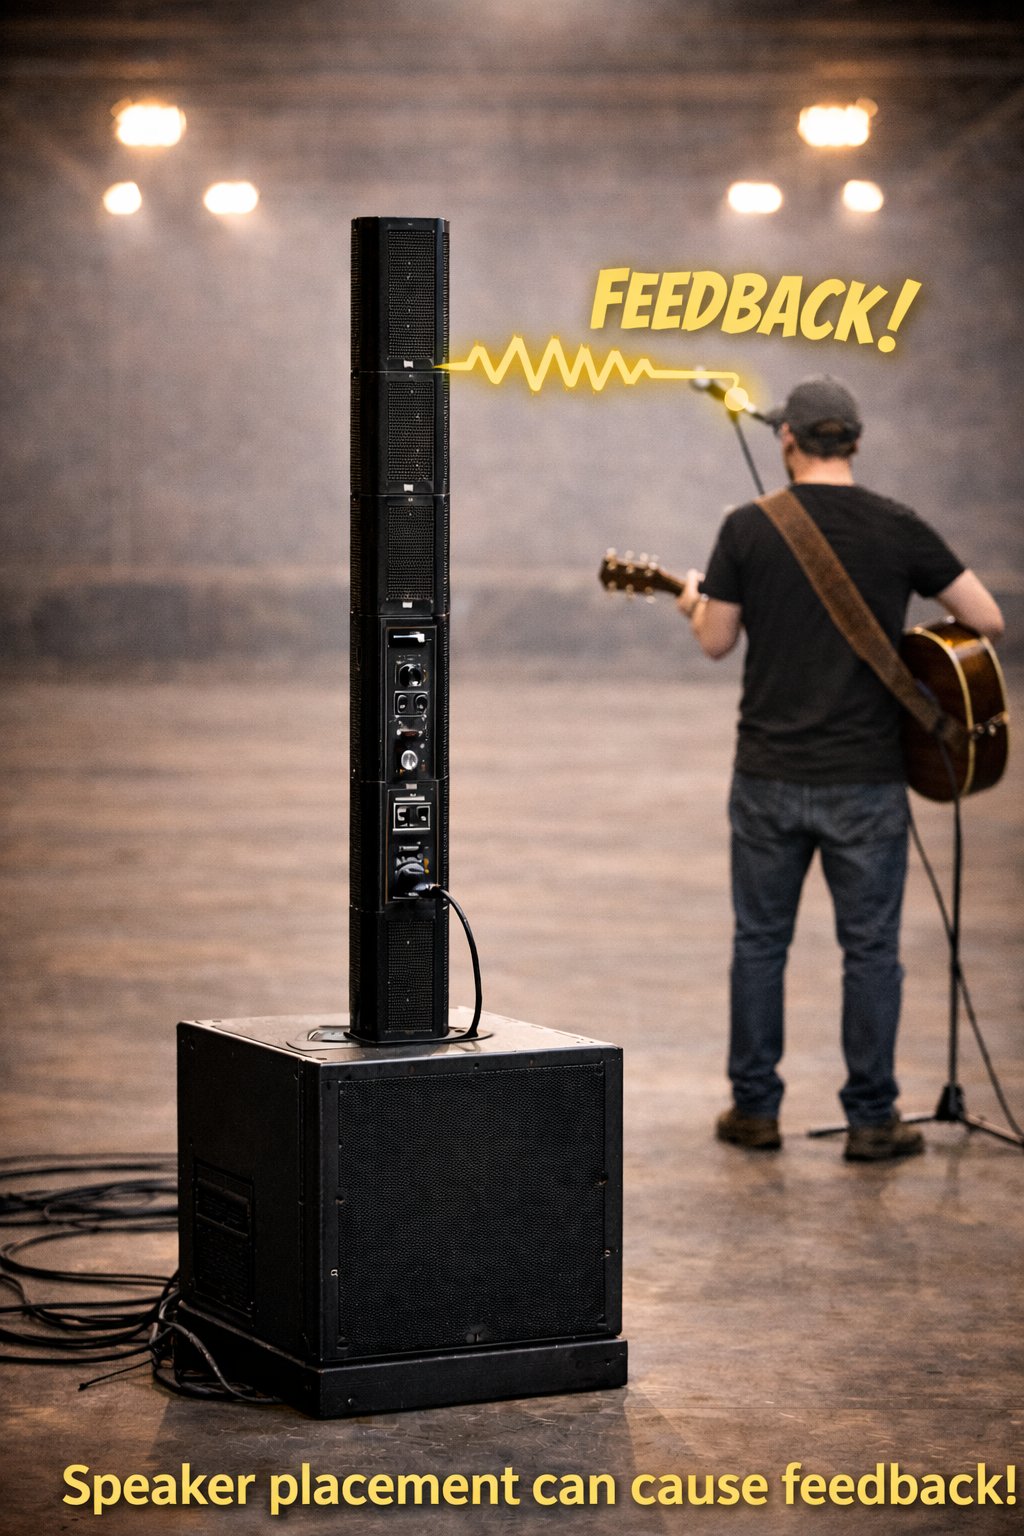
Placing speakers behind a live microphone is one of the fastest ways to cause feedback. Learn why it happens, why column array speakers don’t fix it, and how proper placement and in-ear monitoring can instantly improve your sound.
-
A party DJ isn’t about making everyone happy—it’s about keeping the most people engaged. Unlike radio DJs or phone playlists, a true party DJ reads the room, shortens songs that aren’t working, mixes on the fly, and manages energy in real time. Most people have never experienced that difference—until they see it done right.

-
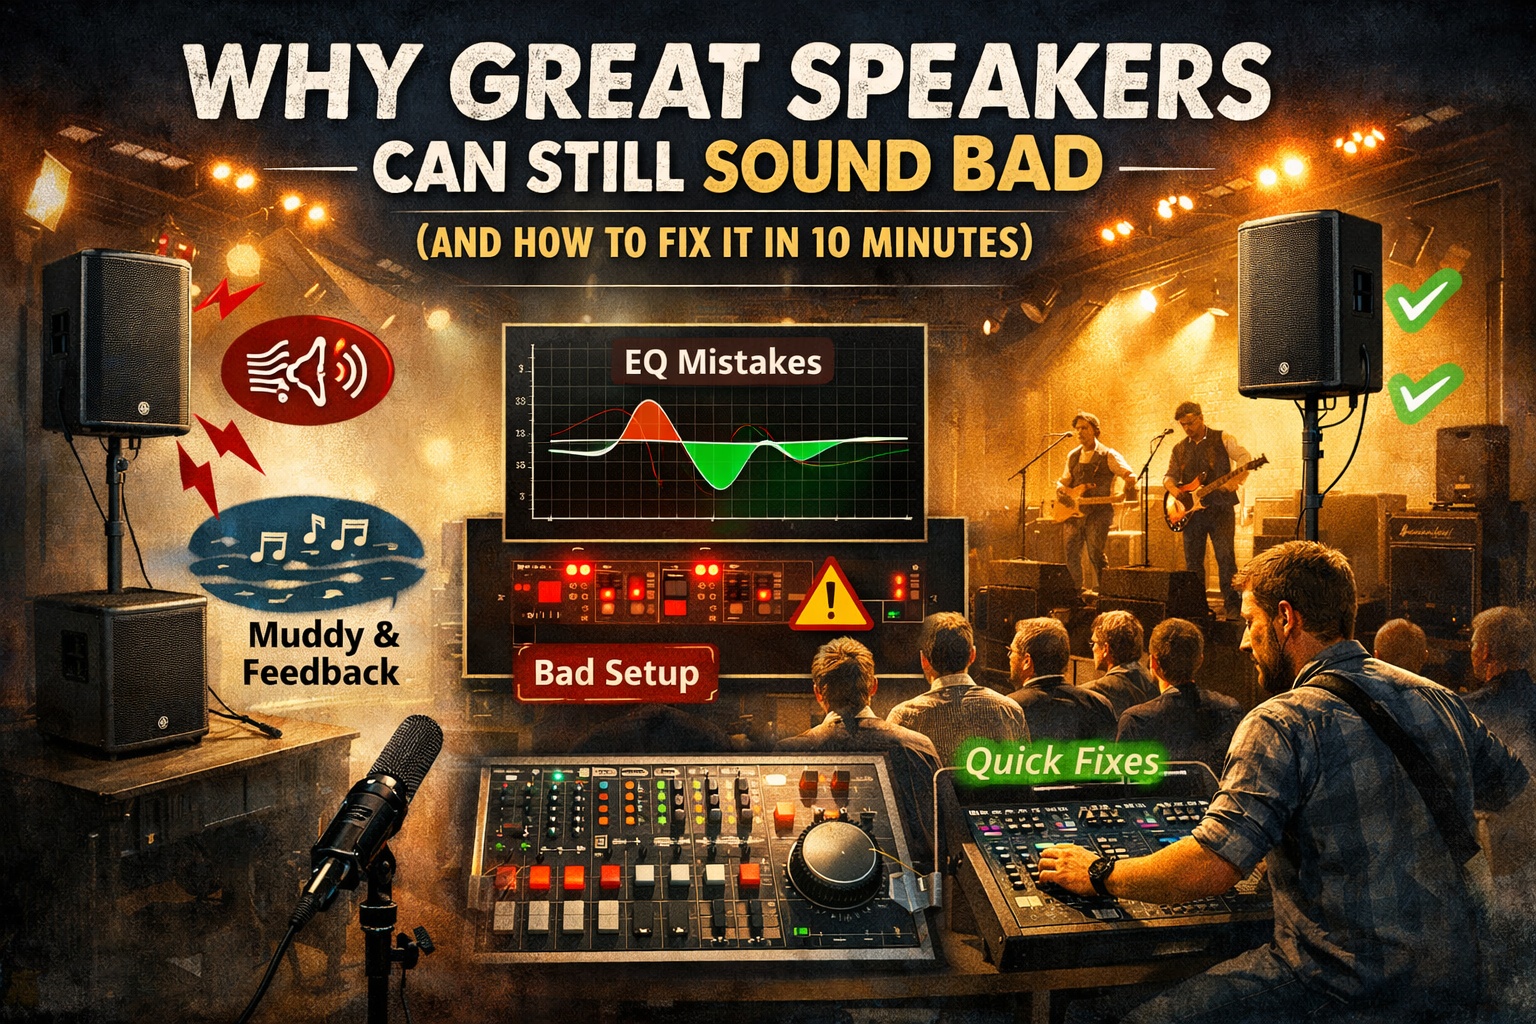
Great speakers don’t always mean great sound. Room acoustics, speaker placement, EQ, and gain structure can make even high-end gear sound bad. In this post, we break down why it happens—and how to fix it in just 10 minutes with simple, real-world adjustments anyone can make.
-
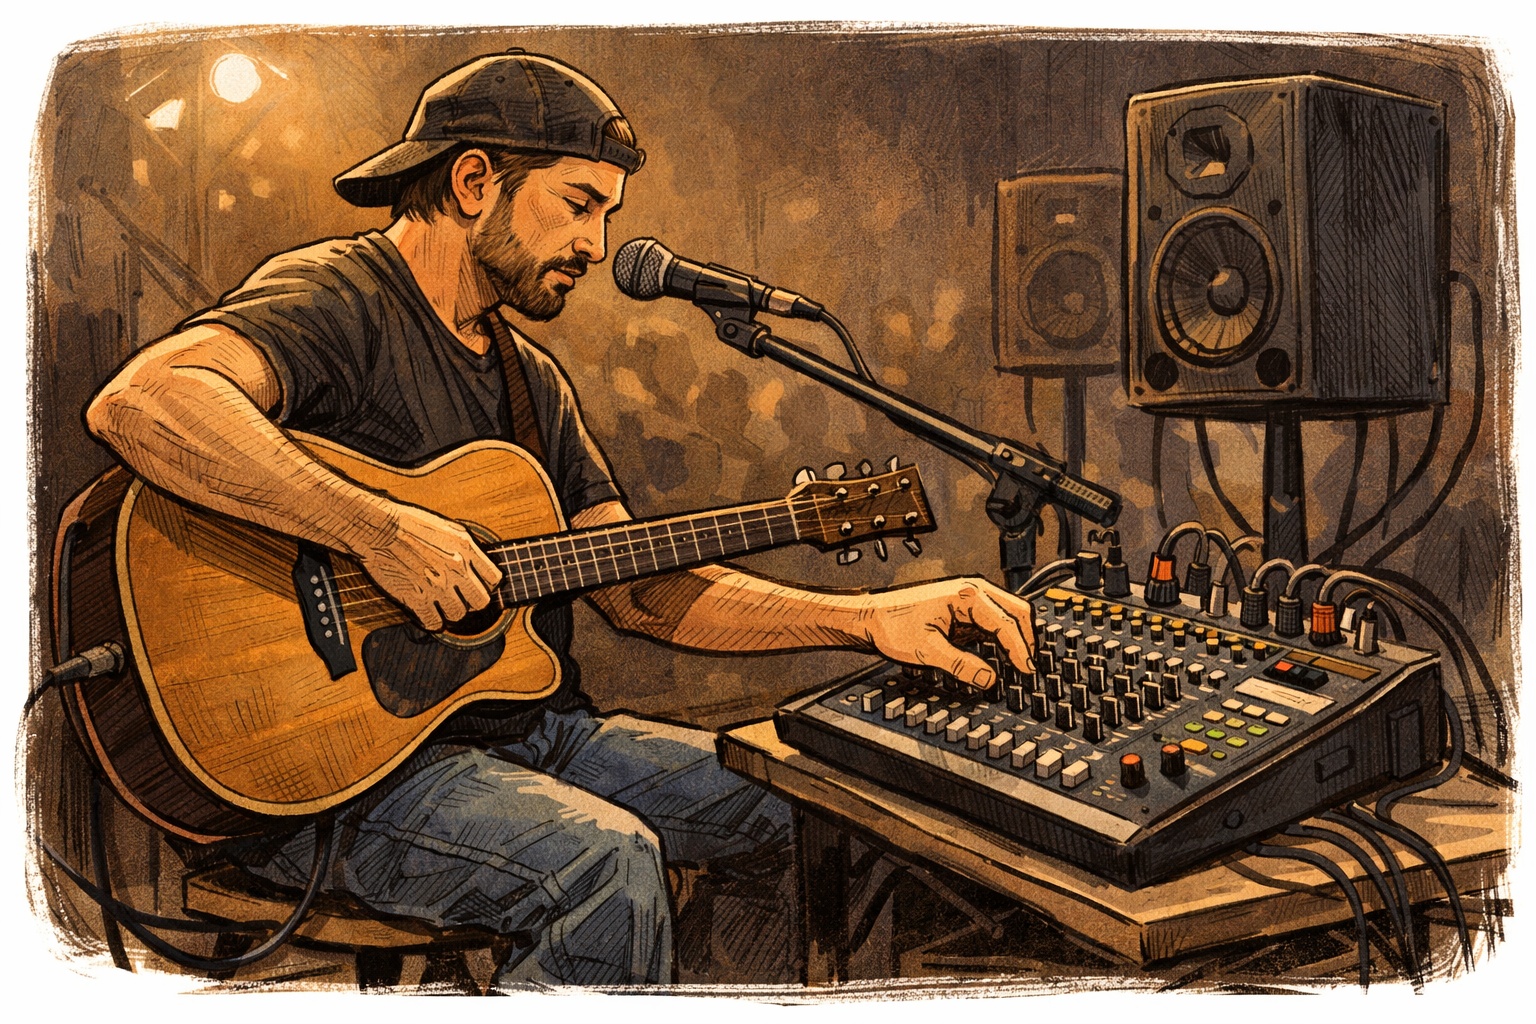
Running your own sound works when you’re starting out—but as your setup grows, so do the challenges. Learn when DIY sound makes sense, how to sound check properly, and when it’s time to bring in a sound engineer.
-
A sound check is more than tapping a mic — it’s where we make sure everything sounds clear, balanced, and ready for the event. From checking each input to fine-tuning EQ and levels for the room, this is the step that catches issues early and ensures the audience hears the best possible mix.
-
Event setup takes time, even with extra hands, but good communication makes everything faster. Let your audio team know the layout, what you need, and where power is coming from. The more we know ahead of time, the smoother the setup goes.

-
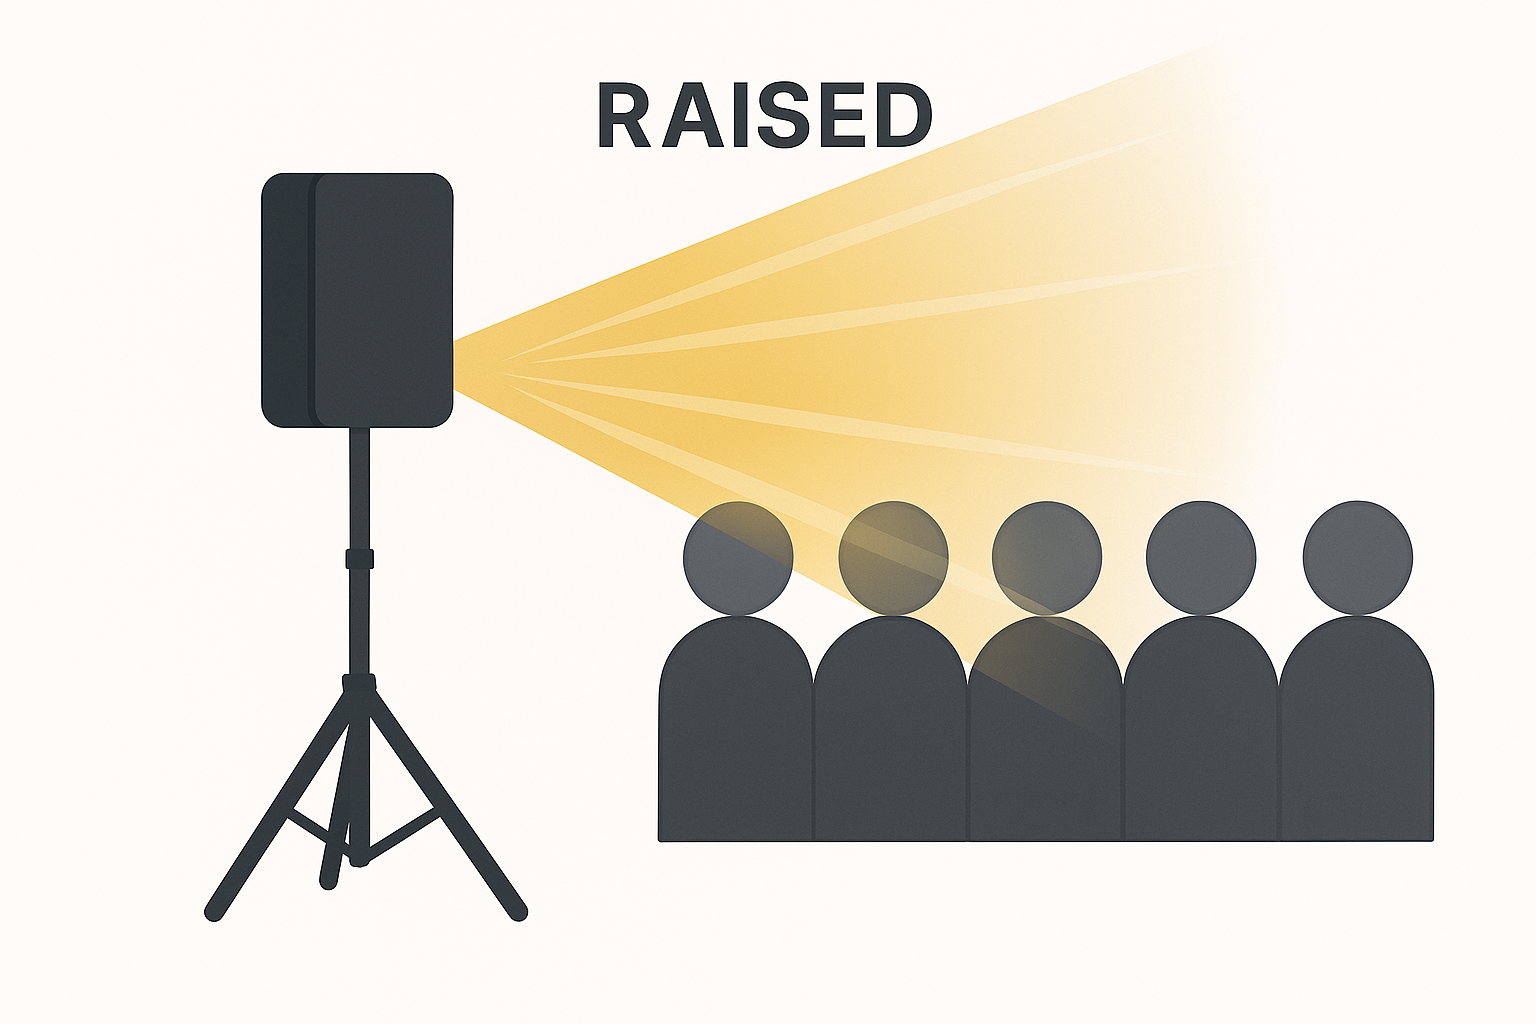
If your sound is crystal clear in one spot but muddy in another, speaker height is usually the reason. Too low and the crowd absorbs everything — raise them just a bit and the whole room suddenly opens up. It’s not always the easiest tweak, but even small height changes can make a huge difference.
-
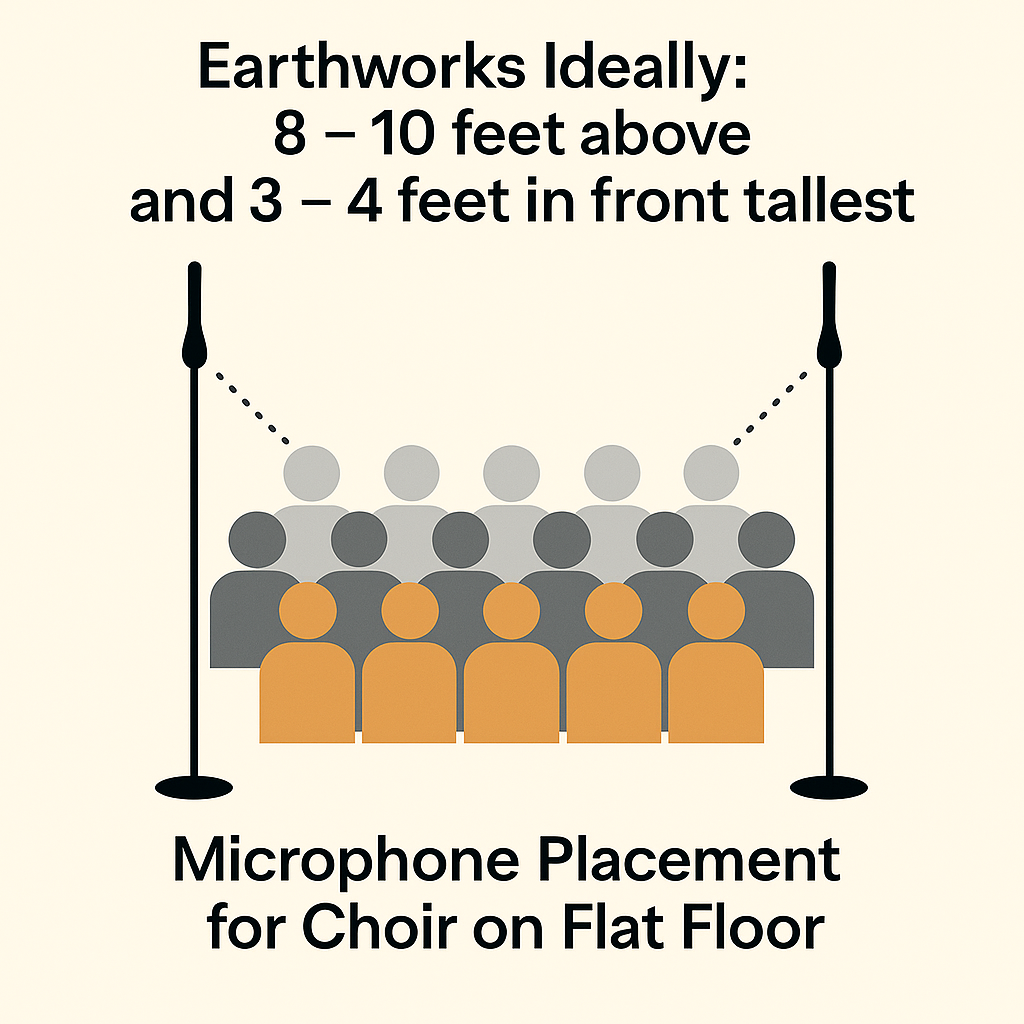
Why Earthworks Gen 2 Mics Are the Gold Standard for Live Choir Reinforcement 🏛 Introduction Reinforcing a choir live is one of the most challenging tasks in audio. Choirs spread wide across a stage, voices are often soft, room acoustics can be unpredictable, and the PA is usually much closer to the choir than ideal.…